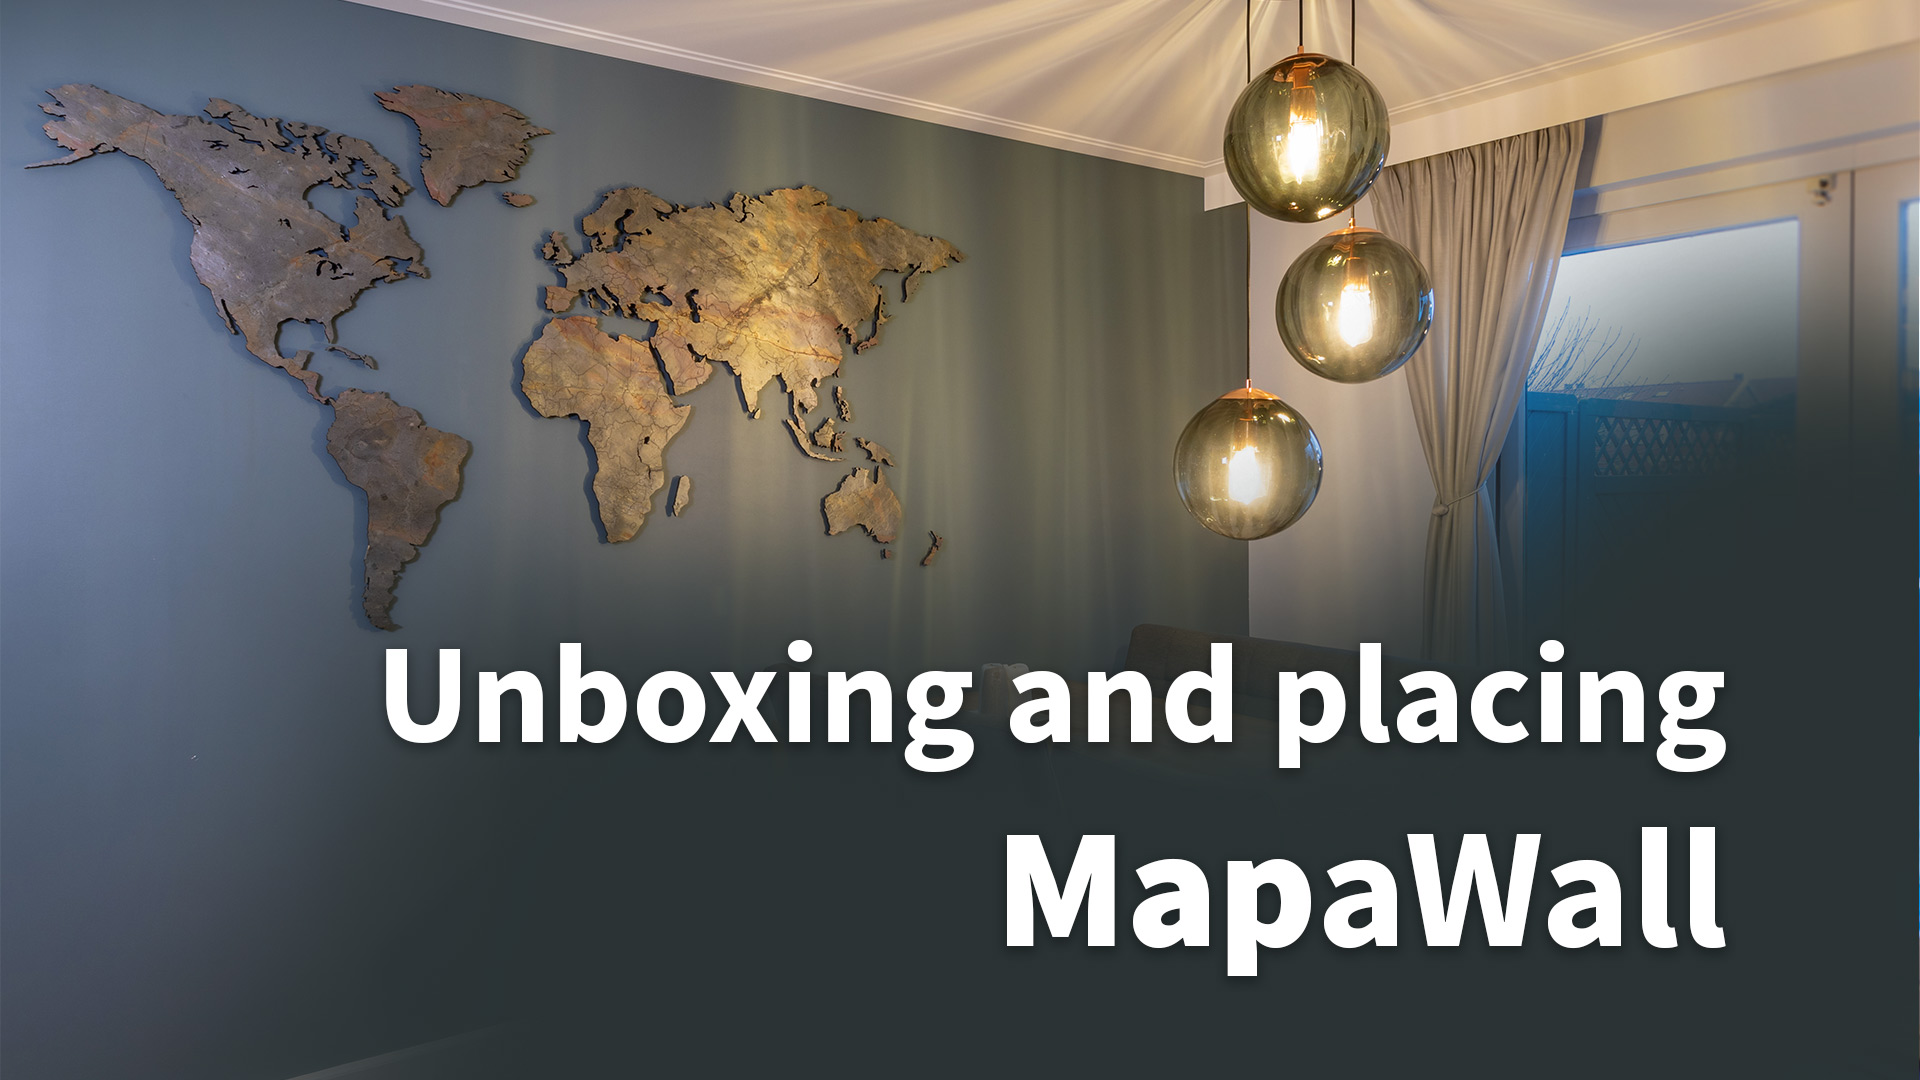
Installing a world wall map is often perceived as a challenging task, particularly with complicated designs like the StoneCut and the stone world maps. However, contrary to popular belief, it’s really simple. Thanks to MapaWall’s innovative magnetic installation system, the process becomes straightforward, making it accessible to anyone.
A well secured package
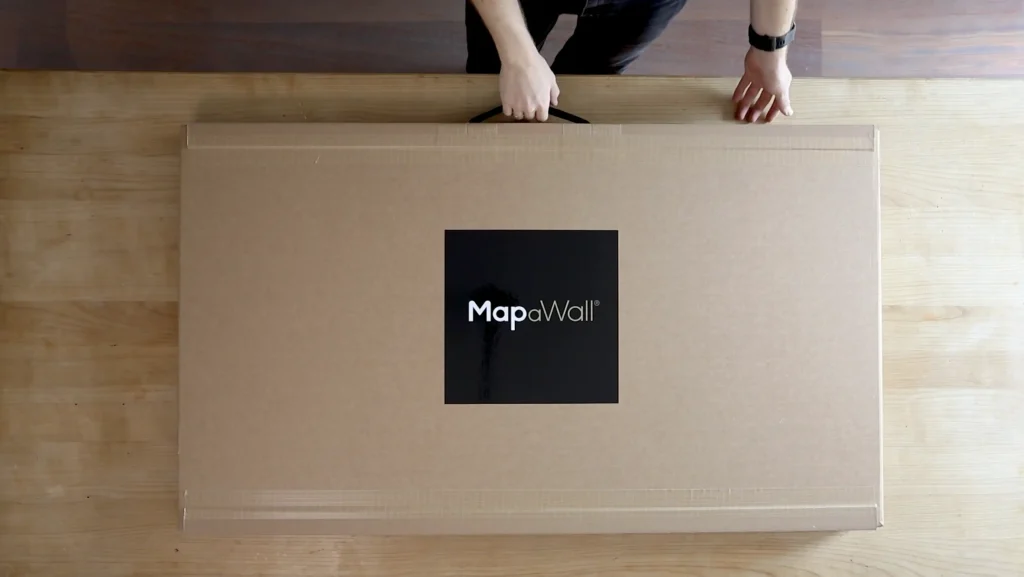
When ordering a precious item online, one always hopes that both the selling company and the shipping carrier recognise its value. Especially when purchasing a world map crafted from real stone, as in this example. This becomes even more critical when the map is ordered from the United States for example and shipped from The Netherlands. To ensure the map’s safety during transit, this company has made advanced packaging solutions, such as the ‘carton suitcases,’ secured with extra-hardened carton profiles to withstand potential impacts. In the accompanying unboxing and installation video, viewers can witness the robustness of the suitcase and the clever use of installation attributes to secure its contents securely.
In addition to the reinforced packaging, all shipments containing these stone world maps benefit from a specialised shipping service. This service, provided by UPS Capital, offers insurance coverage for packages shipped outside The Netherlands and Europe, providing buyers with peace of mind against loss or damage. This assurance is particularly reassuring when purchasing a precious item like a quartz stone map from this client’s example. Although in the video, which was sent in by previous clients, the delivery process was overseen by the customer, typically, the UPS driver would deliver the map to its final destination of course.
Opening and installing
Inside the carton suitcase, a 3-step manual guides you through the process of opening the casing without risking damage to its contents. By laying the suitcase on its back and cutting along the sides, you can easily access the securely packaged contents. Upon opening, you’ll discover two layers containing the continents firmly attached to the carton plates, along with two separate boxes housing the islands and installation materials.
Included in the installation kit is a template, that simplifies the installation process. Fixing the template to the wall with tape completes half of all the work. The remaining steps just involve drilling seven holes and marking additional points. This is done by using the template as a guide for the islands placement. Once all pre-pinched holes are marked, remove the template from the wall and insert plugs into the drilled holes, followed by securing the 7 magnets into place. With the magnets installed, attach the large pieces to the wall and begin with glueing the glass spacers. These spacers correspond with the previously marked pencil points, requiring only a small amount of included gel to stick them to the wall.
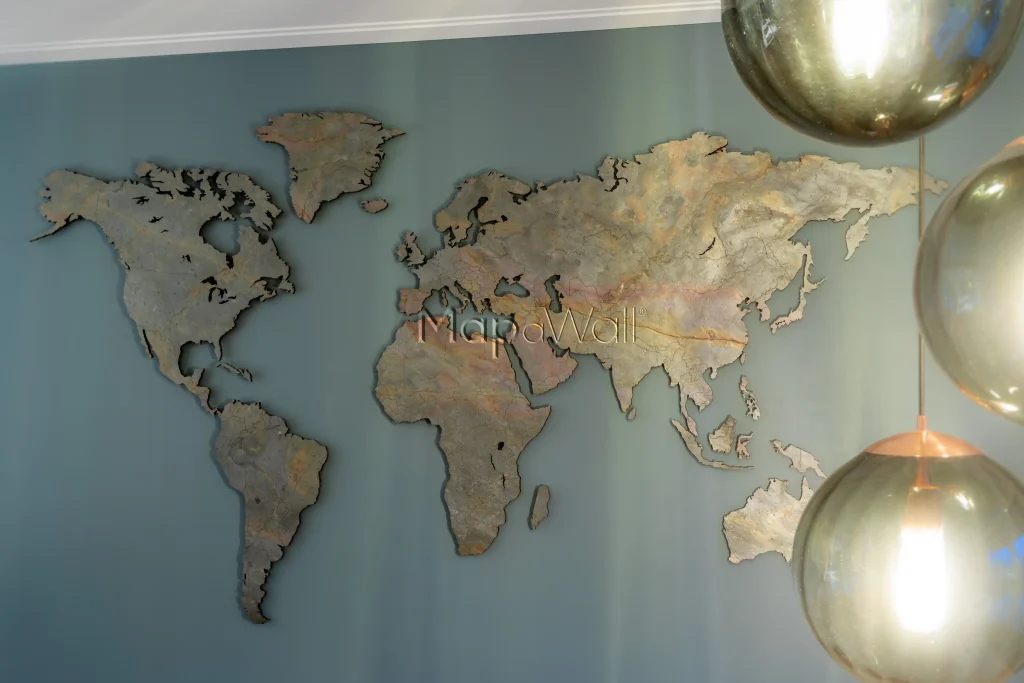
Within minutes, all islands are precisely installed in their designated locations, voila! The greatest convenience lies in the ability to attach and detach the entire world map in just a few seconds. Ideal for those considering a wall colour change, for instance. Still uncertain about the simplicity of this installation process? Take a look at this unboxing and installation video from one of our clients for reassurance.
Leave a Reply